Creating a professional, high-performing WordPress website isn’t just about good design—it’s about having a solid process that delivers reliable results every time. Over the years, I’ve refined my workflow to make sure every project I take on is smooth, transparent, and SEO-ready from day one.
Whether you’re a potential client or an aspiring WordPress developer, here’s a behind-the-scenes look at my step-by-step WordPress workflow—from the initial client brief to launching a live, optimized website.
Phase 1: Discovery & Client Brief
The success of any project begins with understanding the client’s goals.
What I Do:
-
Initial consultation to understand the business, target audience, competitors, and specific goals.
-
Ask detailed questions: Do you need eCommerce? A blog? Booking integration? Multilingual support?
-
Collect existing branding materials (logo, color palette, typography).
Deliverable:
-
A project brief that outlines scope, timeline, required assets, and key objectives.
Phase 2: Planning & Strategy
This is where I take the brief and turn it into a blueprint.
What I Do:
-
Create a sitemap: List of all pages (e.g., Home, About, Services, Blog, Contact)
-
Wireframes or layout mockups (if needed): Focus on user journey and layout flow
-
Select theme or decide on custom design depending on budget and needs
Tools I Use:
-
Notion or Trello (for project management)
-
Figma or Adobe XD (for wireframes)
-
Google Docs (for collaborative content drafts)
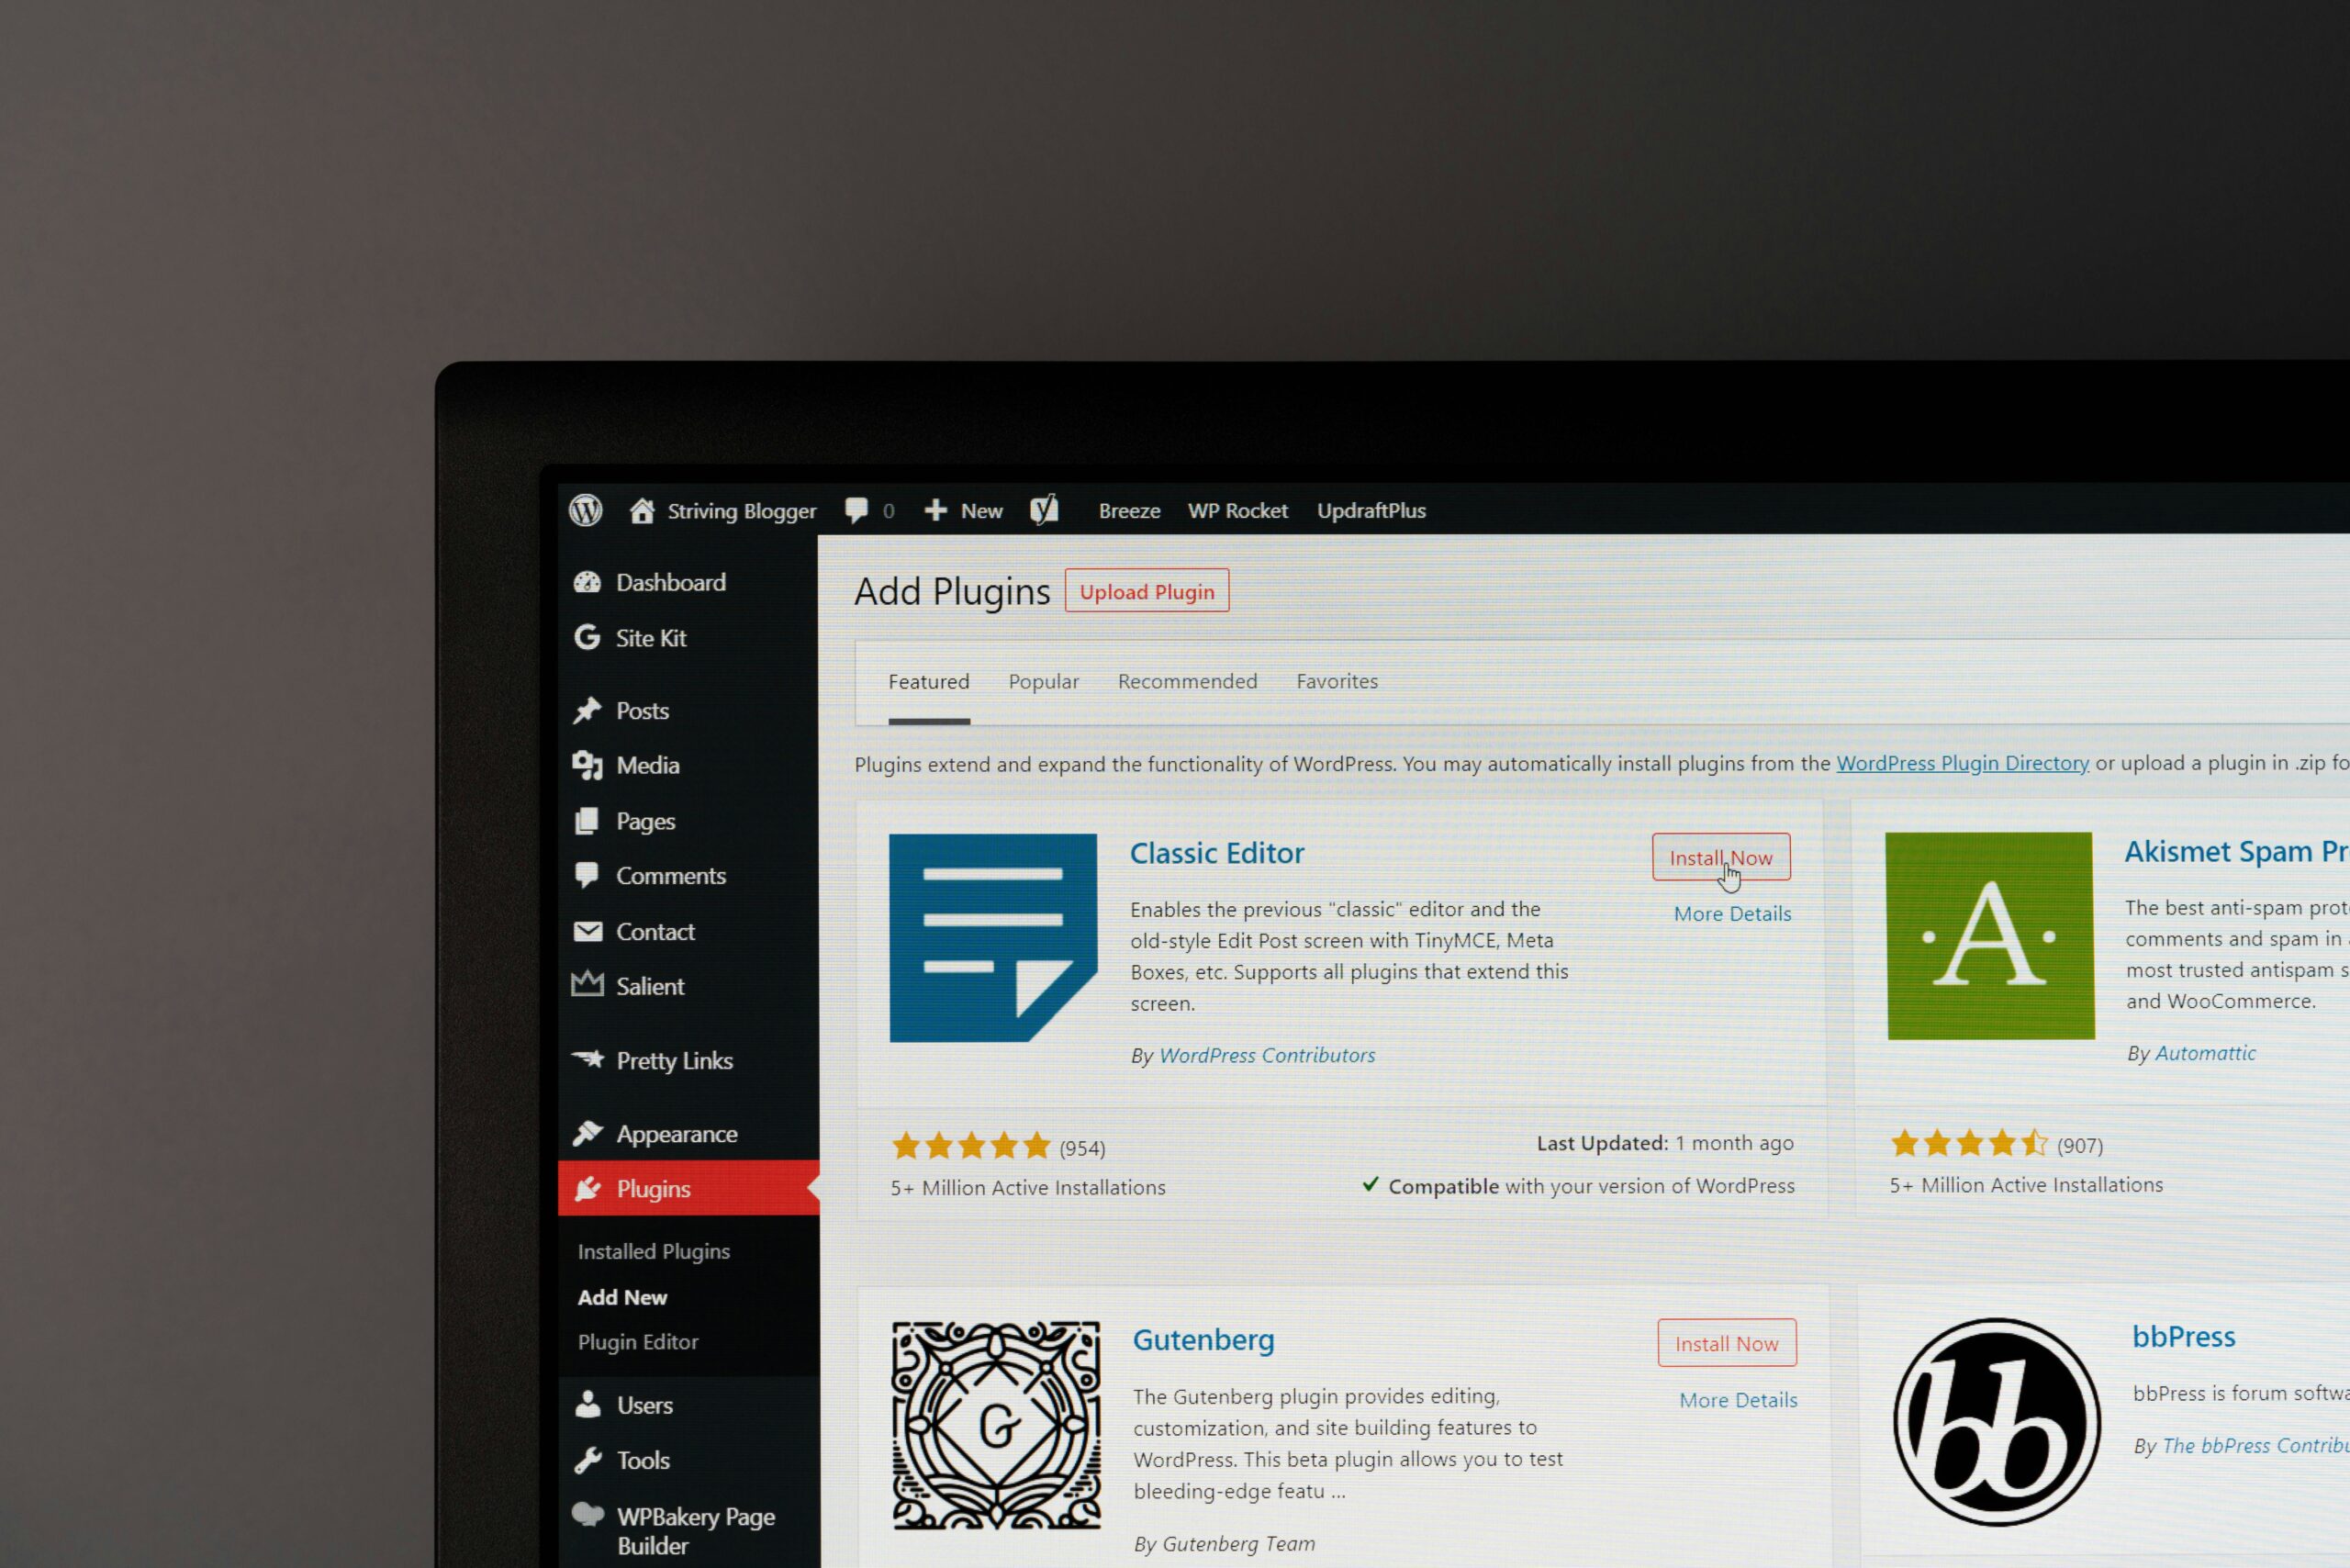
Phase 3: Design & Development
Now the site starts coming to life.
What I Do:
-
Set up a staging environment (not live yet) on my server or your host
-
Install and configure WordPress with SSL, SEO plugin (like Rank Math or Yoast), and essential tools
-
Build out the design using Elementor, Gutenberg, or a custom theme
-
Make sure the design matches the brand and offers a great UX/UI
Key Features Implemented:
-
Mobile-responsive layout
-
Custom header/footer
-
CTA (Call-to-Action) sections
-
Accessibility best practices
Phase 4: Optimization (Speed, SEO & Security)
No WordPress site should go live without being optimized. This is where many freelancers stop—but I go further.
Speed Optimization:
-
Compress and lazy-load images
-
Minify CSS/JS/HTML (via WP Rocket or LiteSpeed Cache)
-
Use a CDN (Cloudflare or BunnyCDN)
-
Test on Google PageSpeed Insights and GTmetrix
SEO Optimization:
-
Proper heading structure (H1, H2, etc.)
-
Meta titles & descriptions set
-
Alt text for images
-
Schema markup for pages/blogs
Security Setup:
-
Disable XML-RPC
-
Install Wordfence or iThemes Security
-
Set up automatic backups (UpdraftPlus)
Phase 5: Testing
I test across devices and browsers to ensure everything works flawlessly.
Checklist:
-
Mobile responsiveness
-
Contact forms and submission success
-
404 pages and redirects
-
Page speed scores
-
Broken link check
-
Cookie notices and legal pages (privacy policy, terms)
Phase 6: Launch & Handoff
When everything’s greenlit, it’s time to go live.
What I Do:
-
Move from staging to live domain
-
Submit XML sitemap to Google Search Console
-
Set up Google Analytics 4
-
Provide client with:
-
Admin credentials
-
Site documentation (how to edit pages, add blog posts, etc.)
-
Optional training session (via Zoom or video tutorial)
-
Post-Launch (Optional Maintenance)
I offer ongoing support to keep your site optimized, secure, and updated.
Services Include:
-
Plugin/theme/core updates
-
Monthly performance reports
-
Regular backups
-
Content updates & SEO monitoring
Final Thoughts
Having a clear workflow ensures every WordPress site I build is not only beautiful, but also fast, secure, and SEO-ready. This process allows clients to stay informed, reduces unexpected delays, and results in a website built to grow with their business.
Whether you’re launching a brand-new site or revamping an old one, a structured approach like this saves time, avoids headaches, and leads to better outcomes.